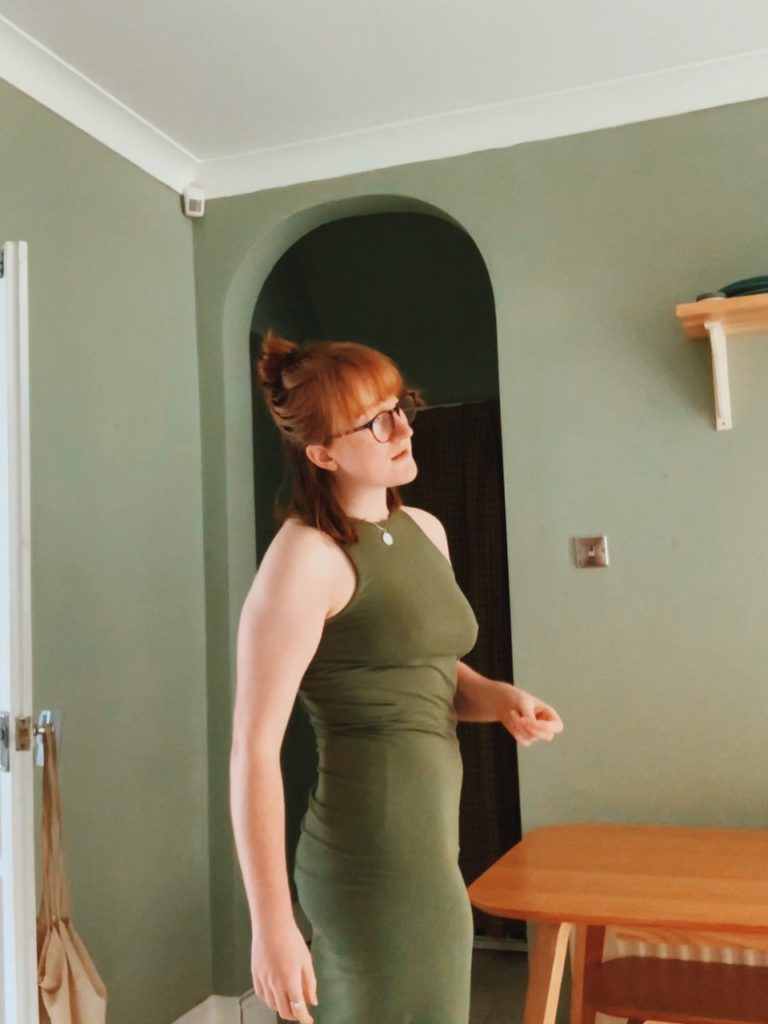
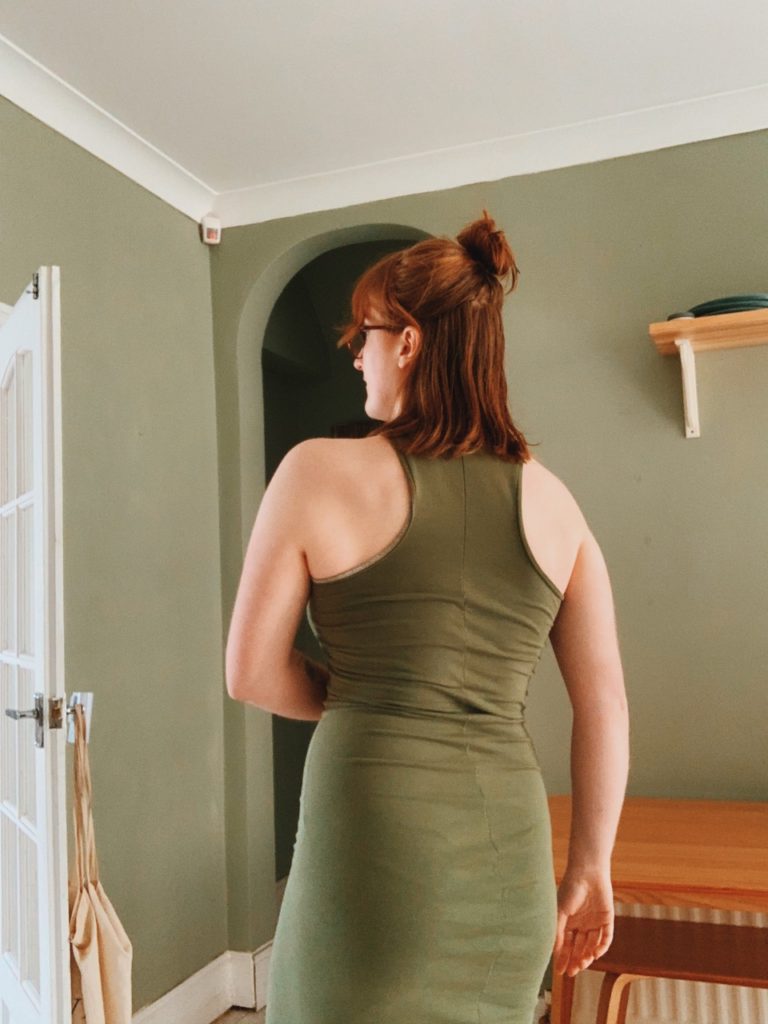
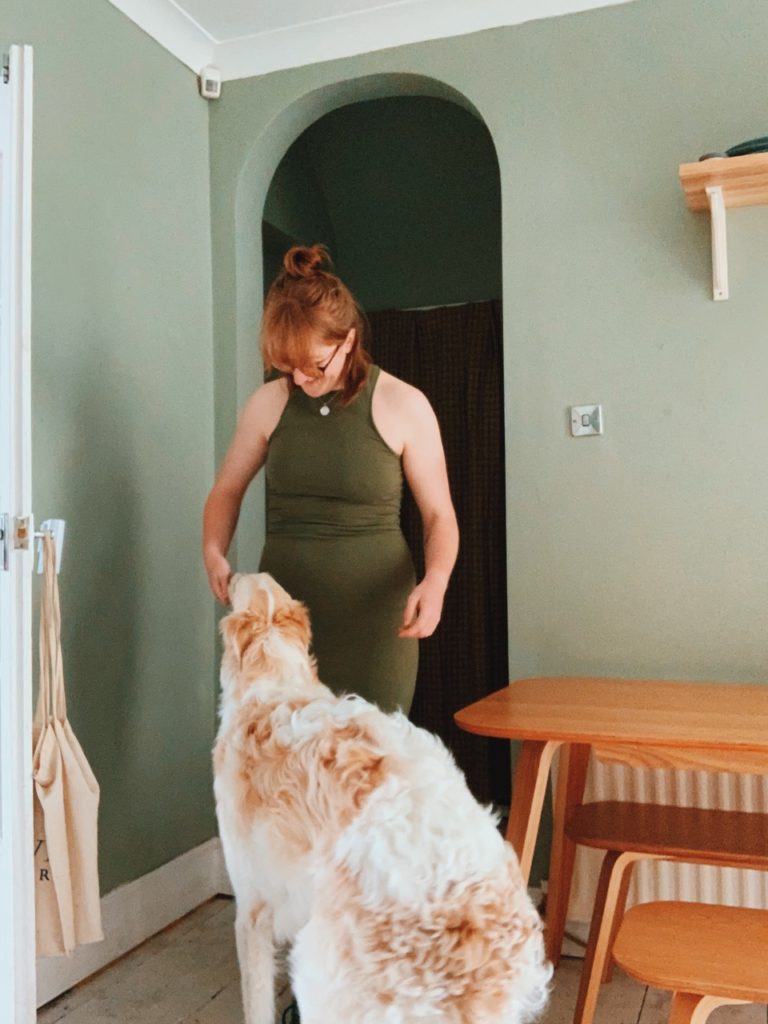
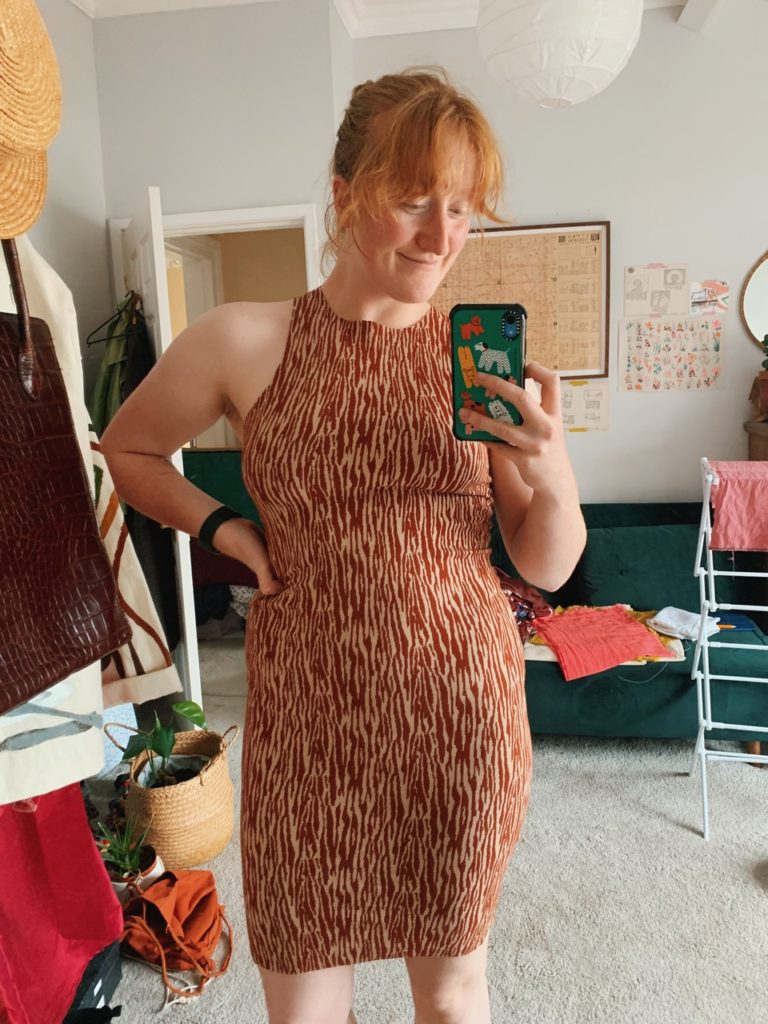
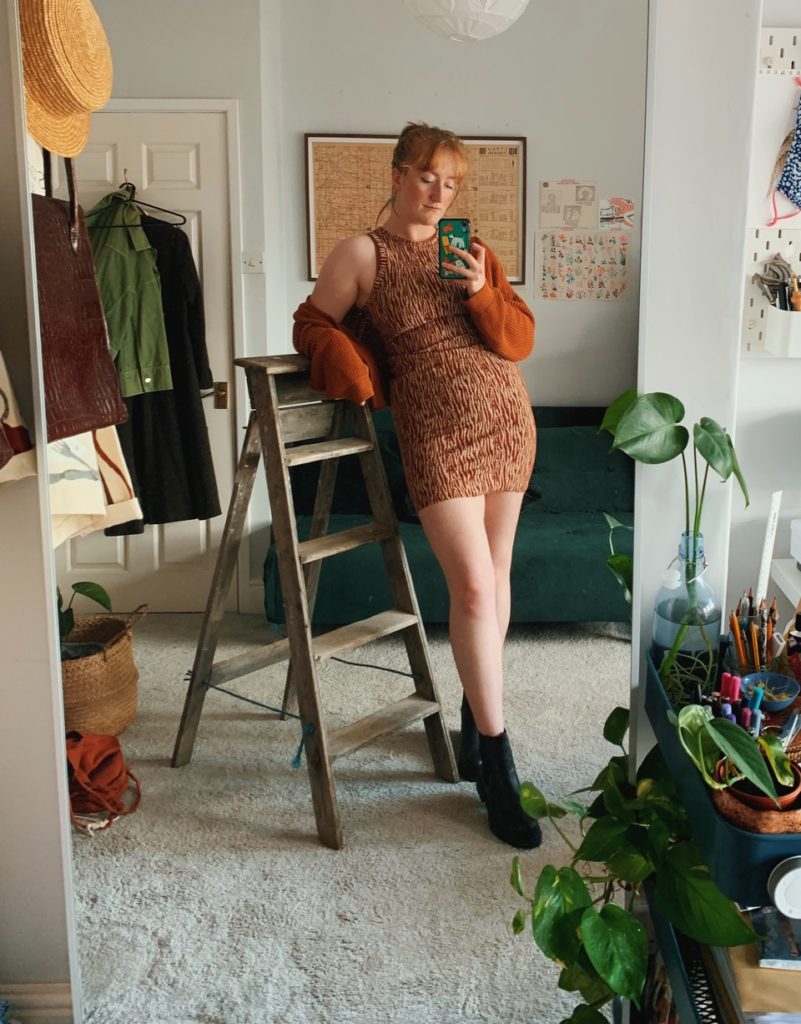
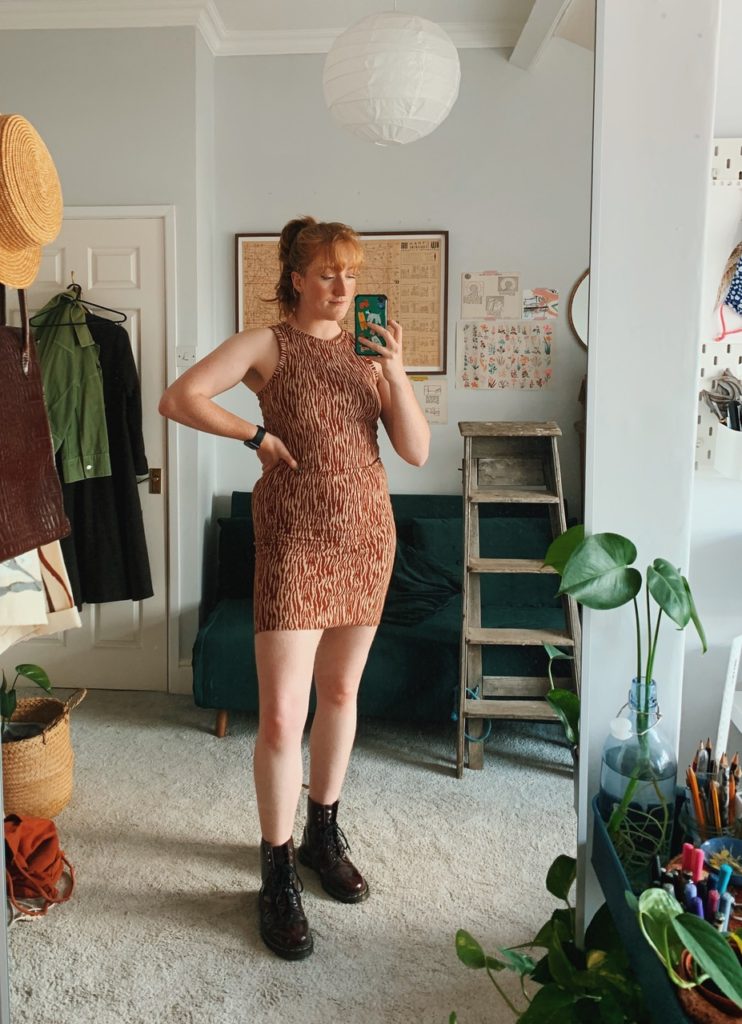
This is a guest post written by Roisin of Give Her Pockets on how to turn the Axis Tank pattern into a dress.
The Axis tank is the pattern serves two key purposes for me. It is the go-to pattern for a perfectly fitting tank top, and it is the pattern I reach for when I am in a creative or clothing rut. The simplicity of the axis tank makes it perfect not only for hacking but for making something that you love without the stress of having to invest hours and hours of work when you just need a quick win.
If you’re like me, skeptical about most things, you too will raise an eyebrow at how much I gush over this pattern. I held out for a while because I am both slightly afraid of my overlocker and equally afraid of knit fabrics. But once I took the leap I realised I had been missing out on a staple for my wardrobe that stretches across casual day wear to going-out wear. My ochre rib-knit axis tank is probably at this point my most worn make, I feel confident, strong and dare I say… sexy? As the world opens up again and I start going to pubs to meet friends – it is the piece of clothing I reach for every time.
So then I ask you… why not make this pattern go further? And so we come to the axis tank dress hack. Follow these rough instructions to make your own, and don’t forget to show Sophie some love for this gorgeous and flexible pattern!
Method:
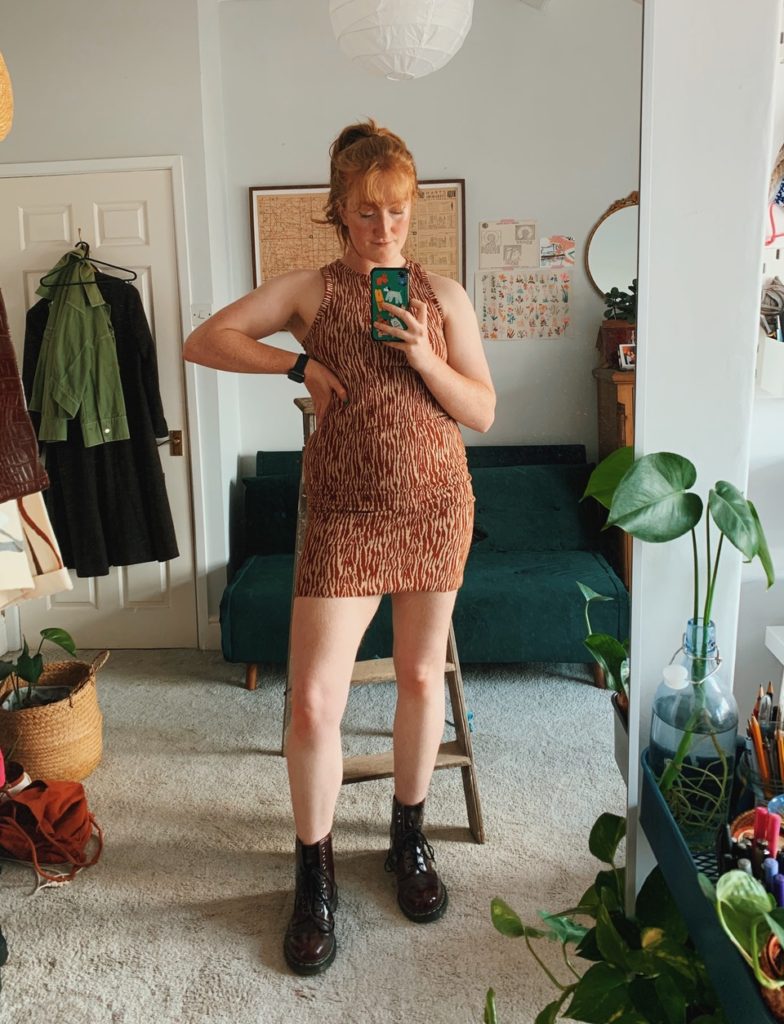
Step 1: Find a stretch knit fabric you like. The pattern (for all sizes) specifies you’ll need about 2/3rd of a yard (or approx 2/3rd of a metre for us lot over the pond) of fabric, but for a full dress I use around 1.5m (approx 1.6 yards). This is my second axis dress, the first I used a green organic single jersey knit, and for this I used this Organic Jacquard that I had left over from another project.
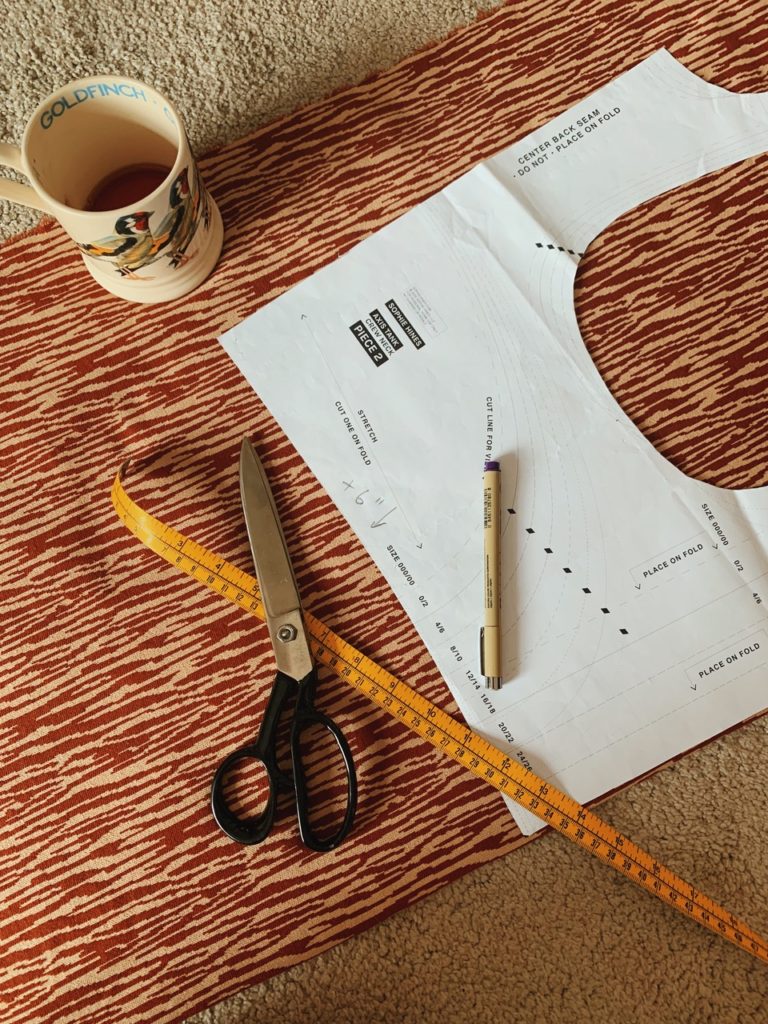
Step 2: Take the following series of measurements:
- B. bust
- C. waist
- D. hips
- length from neck to waist
- length from neck to hips
- A. neck to the length hem you would like for this dress (shin or thigh length etc)
Make a note of these!
Step 3: This is the step that required what I would fondly describe as *guesswork* when I made my first version of this dress. But I’ve approximated a percentage figure that should work for you too. Take a look at the bust measurement on the physical pattern, mine measured 15 inches across, which is 30 inches in total. My actual bust measurement is 40 inches so the approximate accommodation for the stretch of the knit fabric is about 25%. I decided to play on the safe side and give myself *more* room to play with, I therefore aimed for taking 20% off my actual body measurements to accommodate for the fabric’s stretch. For example, my waist actual measurement is 34.5inches. So I did 34.5 x 0.80. This gave me 27.6in. To get the measurement I needed to sketch onto the fabric which is folded in two, I needed to divide that by two which gave me approximately 14in for my waist measurement. I did the same calculation with my hips and this came to 17.75in for the hips. So every measurement (bust, waist, hips) you take is [body measurement x 0.8 ] / 2 as seen in the diagram below.
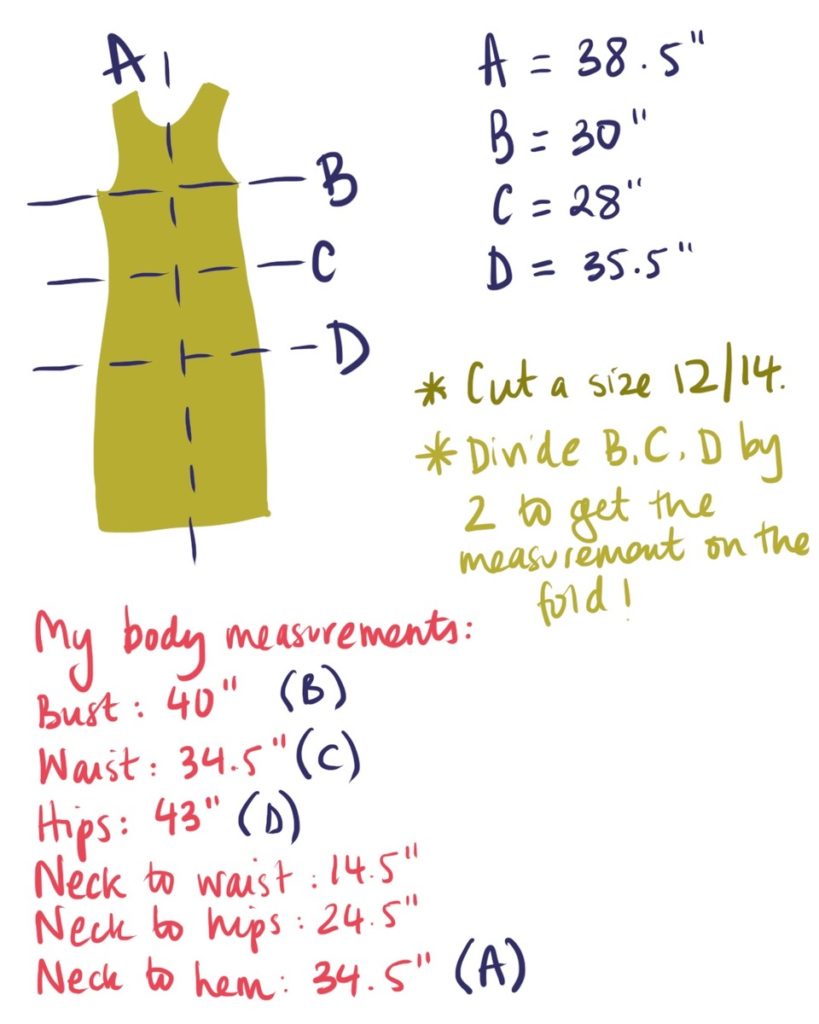
Step 4: I recommend sketching out the shape of the axis dress (see my crude hand drawn sketch above) to make sure you have all your measurements to hand visually. I am a visual person but I struggle with numbers so this helps me to understand what measurements I need to mark on the fabric. I know that the preferred length of the dress from my neck to the hemline will be 34.5in, my bust will be 30in, my waist will be 28in and my hips will be 35.5in. This is crude, but it gives you a starting point and we can make adjustments from here to the shape if you need to.
Step 5: Pin your main pattern piece to the fabric. Remember that this pattern is a tank crop/bra. I would normally add on 8in to the length of the bralette to make a full tank top which I would measure down the folded side of the fabric. When your pattern pieces are pinned to the fabric, measure down measurement A (neck to hem) from the neckline and mark it on. Then do the same for neck to bust, neck to waist, and neck to hips so that you have four marks on your fabric. These are the points that you will then measure horizontally from to get your desired shape and fit.
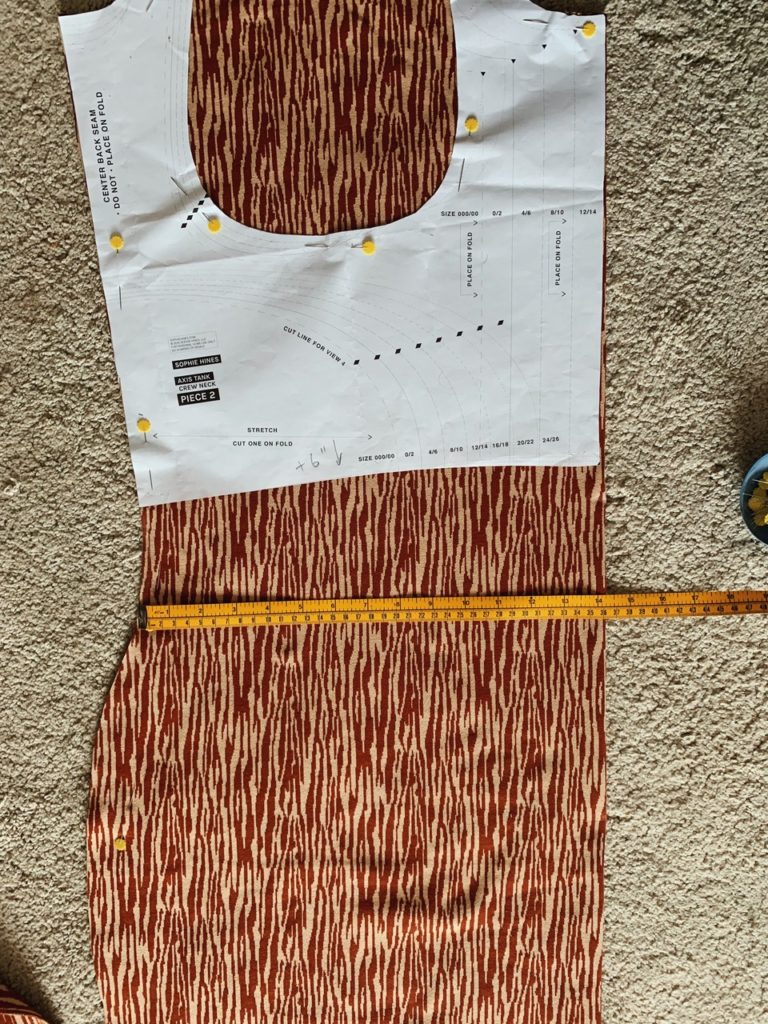
Step 6: The bust point is already accounted for with the pattern, but at the point you have measured your waist, measure across horizontally the waist figure you came up with earlier – mine was 14in as seen in the image above. Do the same at the point you marked your hips too. For the hemline, I was looking for a body con style dress, so I picked a point on the hemline that would leave me enough room to walk about which ended up being roughly the same measurement as my waist. Now you have the three measurements marked onto your fabric, it is time to join the dots. I joined them up freehand so that I wouldn’t have any angles from point to point. Once I had done this, I felt that the hip measurement was too wide, I left it but made a note that I may have to shape that curve after the first try on.
Step 7: Now you should have the shape of half a dress! Don’t forget to cut out the binding for the armholes, neck hole and hem – although I left a raw hem on both of my dresses – laziness or a fashion statement? I guess we’ll never know.
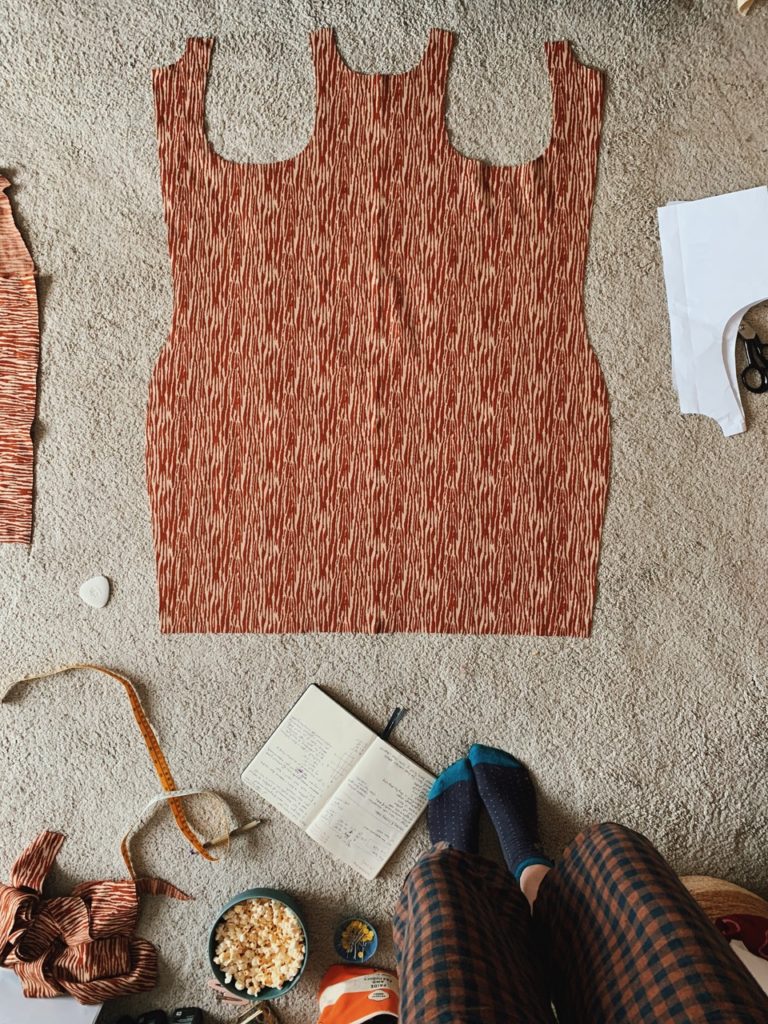
Step 8: Follow Sophie’s instructions from here, and once you have sewn up the back of the dress and the shoulders, it is time to do a fitting.
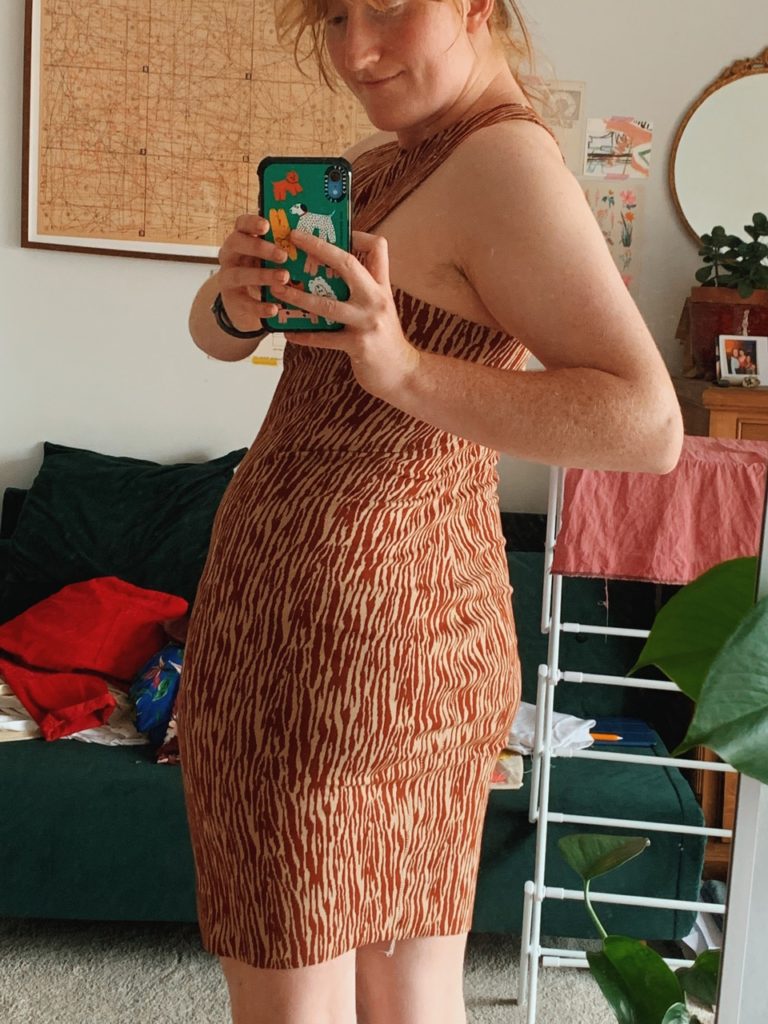
Step 9: Now we need to try the dress on and see if our maths is absolutely horrible or not. My first attempt, my hips were far too large and I ended up with a strange sack like shape on my bottom because my bum is less curvy than I idea myself to believe. As you can see from the images above, for my second dress the lines were indicating I needed to taper the curve more as I had excess fabric at the hips. To fix this, I reduced the hip measurement by approximately 2in, having pinched that out with pins to check the fit whilst wearing the dress. I then use my overlocker or sewing machine to taper out that curve. Once you’ve made those changes, test the fit again. Repeat this step until you’re happy that the dress accommodates your body and curves and angles and lovely shapes.
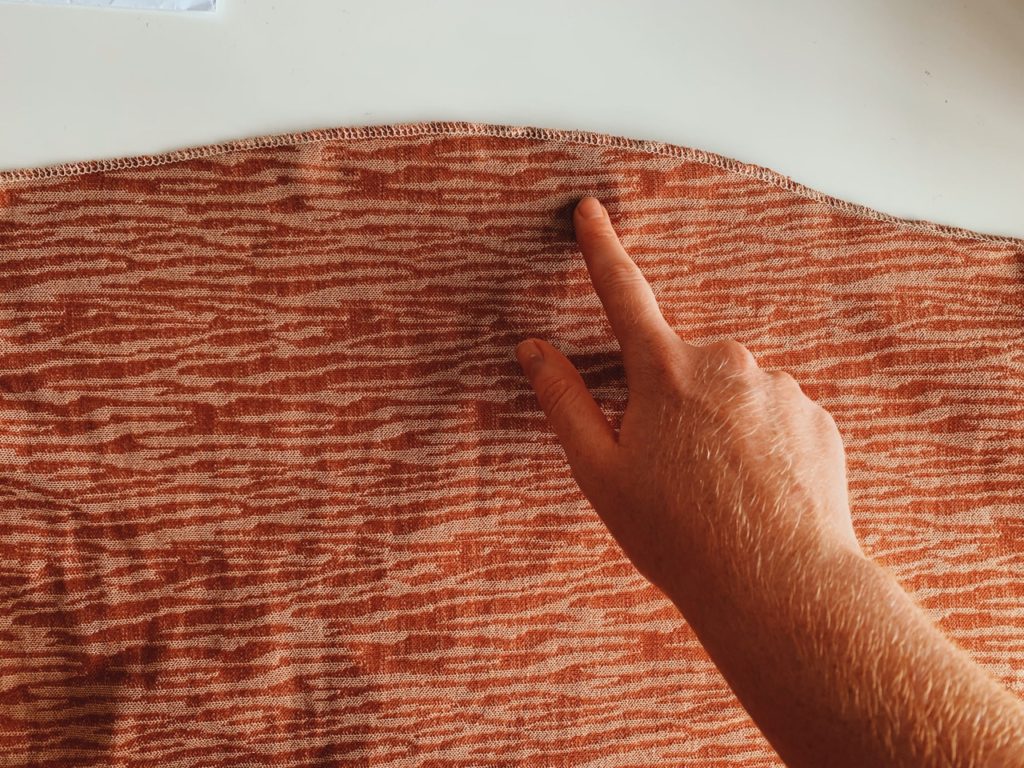
Hip curve before tapering. 
Tapering the hip curve. 
Hip curve after tapering.
Step 10: Remember!! We make clothes to accommodate us. We don’t change our bodies to fit clothes because we deserve things that fit us beautifully, comfortably and enable us to genuinely feel confident. This axis dress does exactly that for me, so I want that for you too. You’re darned lovely.
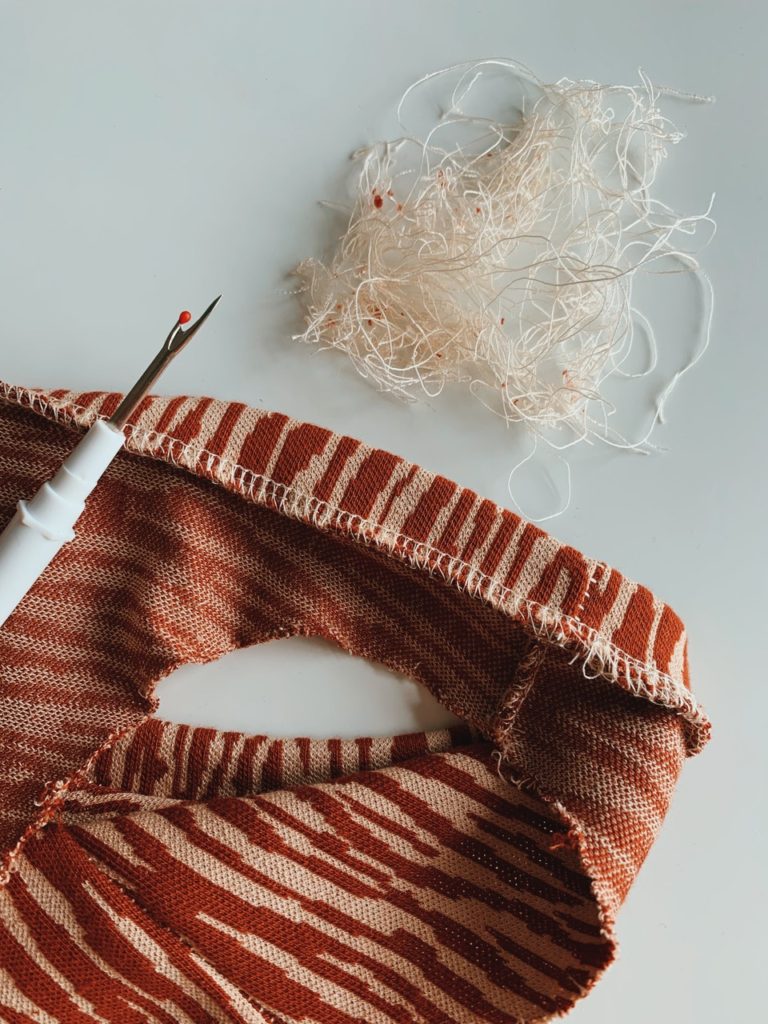
Step 11: Go forth with the rest of Sophie’s brilliant pattern instructions. I can guarantee you are almost finished. If you’re like me and you stretched your neck binding out a bit too much, feel free to unpick your overlocked seam (*heavy heavy eye roll*) and cut the length down a bit, then re-pin and stitch.
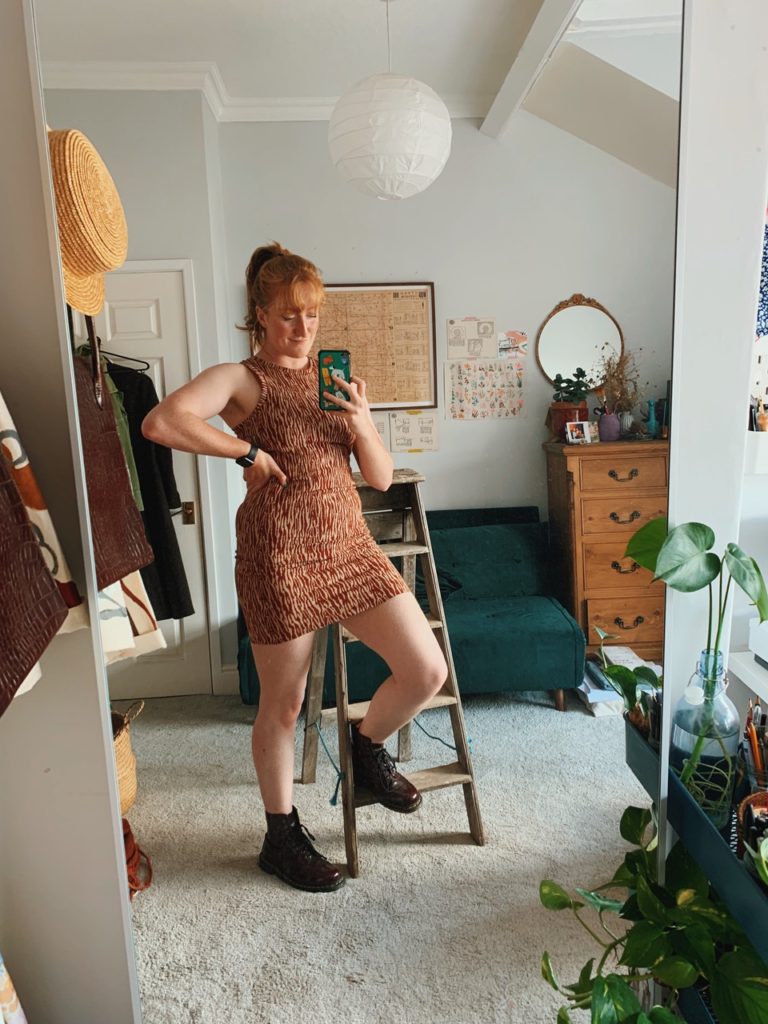
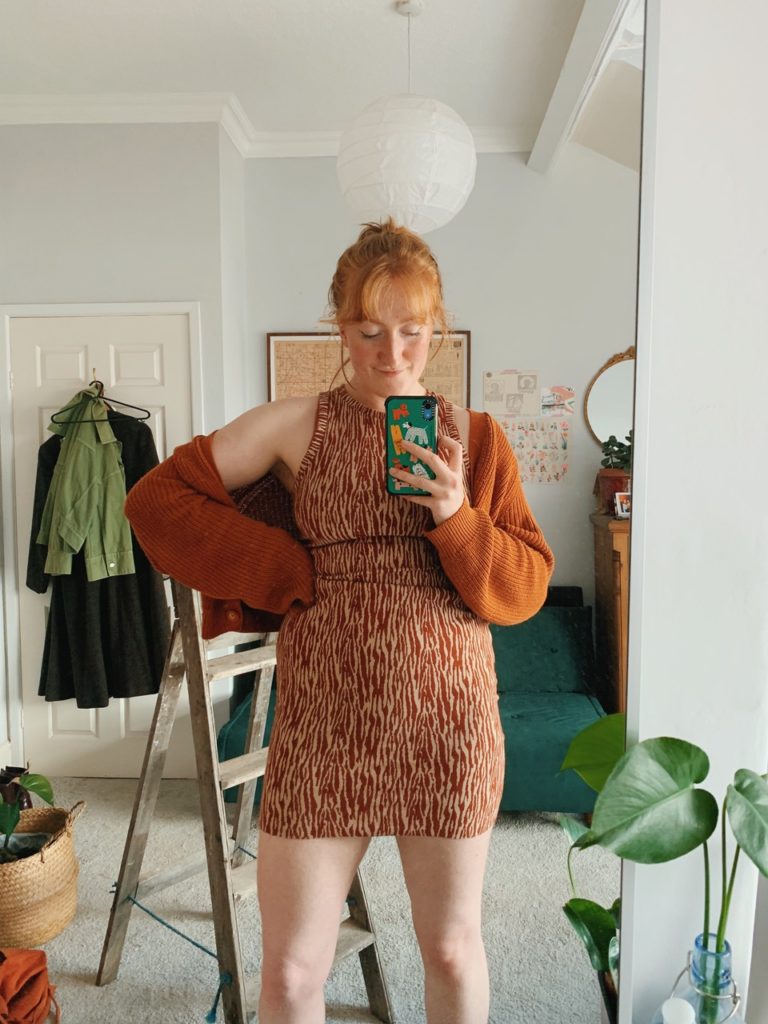
Step 12: Try your dress on for any final tweaks and relish in how fast that was to put together and how good you look. Style your dress however you like, the reason I love this dress so much is that its a great basic to have that you can style up with an oversized shirt, or wear on its own. I often pair my shorter dresses with boots like my doc Martens of a slightly chunkier black boot to make me feel even more confident. But this dress really speaks for itself. Now go and enjoy yourself!
Roisin, aka @giveherpockets, is a 27 year old lass living in Northern England. She works part-time in climate change and conservation and the rest of the time she is growing and selling flowers in a walled garden alongside nature. On the off-chance she gets a spare moment she can be found in her sewing space making clothes after swearing off buying fast fashion 3 years ago. Sustainability is an important aspect of her sewing, as is her large horse sized Russian wolfhound, Sacha, who tries to ‘help’ but often ends up hindering Roisin’s efforts.
Instagram – @giveherpockets
Website – www.giveherpockets.com
