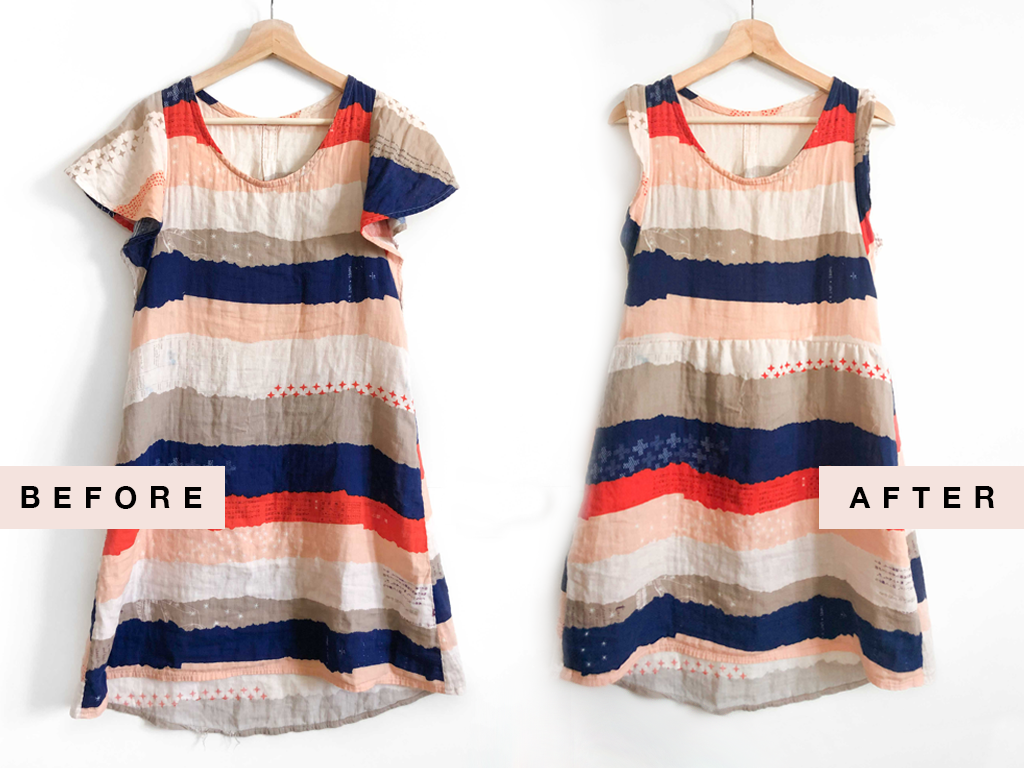
I found this handmade dress at a Goodwill with my friend Haley last summer. Immediately I was drawn to the beautiful double gauze fabric, smitten with the pink and little stars and the lovely stripes. I wore it all year as a nightgown, trying to decide how to freshen up the style. Finally a couple weeks ago, I sat down and did it!
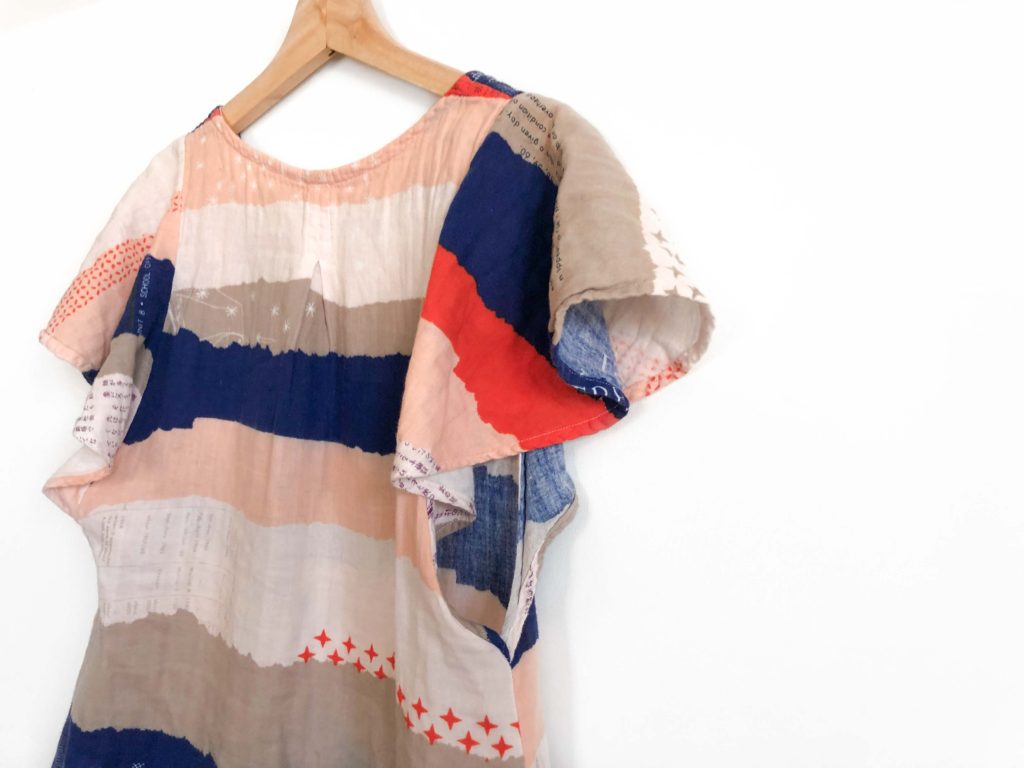
WHAT I WANTED TO CHANGE
The dress was about knee length on me, so these armholes are DEEEEP. They were lower than the bottom band of my bras, and you can imagine the consequences of a windy day and no bra while taking Lola for a walk in the morning.
Also, I have very wide shoulders, and the extra volume of these party sleeves just wasn’t doing it for me. I love the handmade bias tape around the neckline, as well as the shape of the bodice- notice the adorable secured box pleat at the center back neckline, but the sleeves were SO much and needed to be changed.
If you cast your eyes up to the top photo, you’ll notice the shape of the skirt- it’s a very bold A-line, and has no qualms about it. Overall, the shape of this dress has rather children’s illustration triangle vibes.
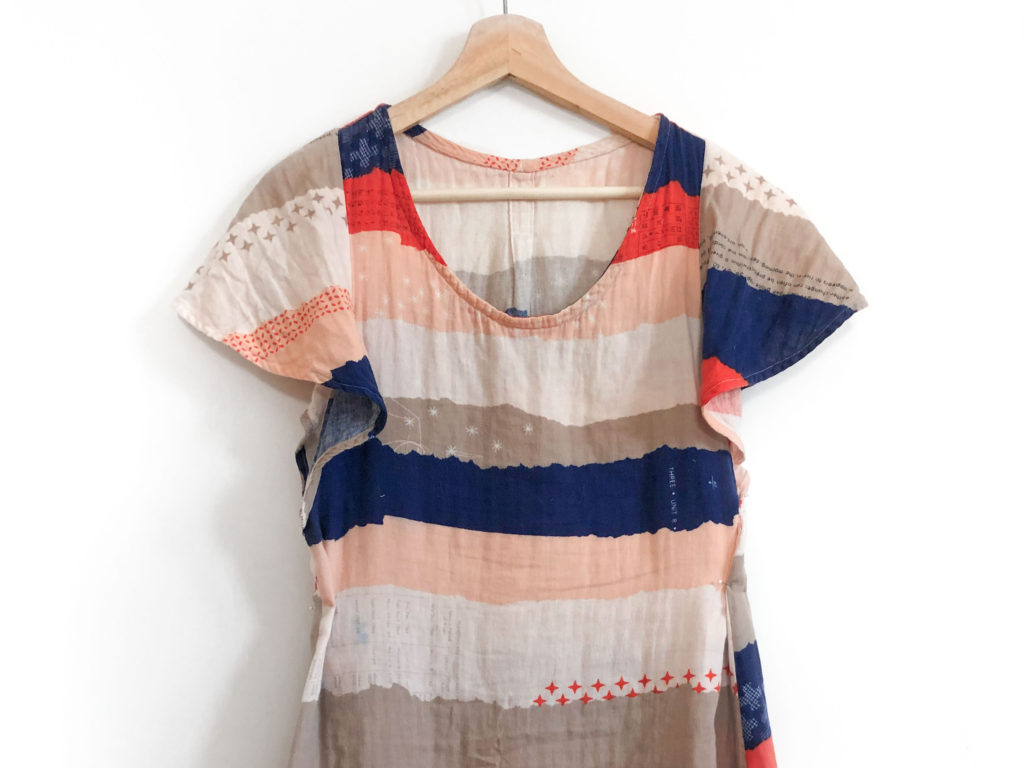
THE SEWING
I wasn’t sure where I wanted to go with the sleeves and armholes, so I started by giving the dress a waist. I put the dress on and pinned where the waist felt good, then hung it up so I could asses the shape I’d created.
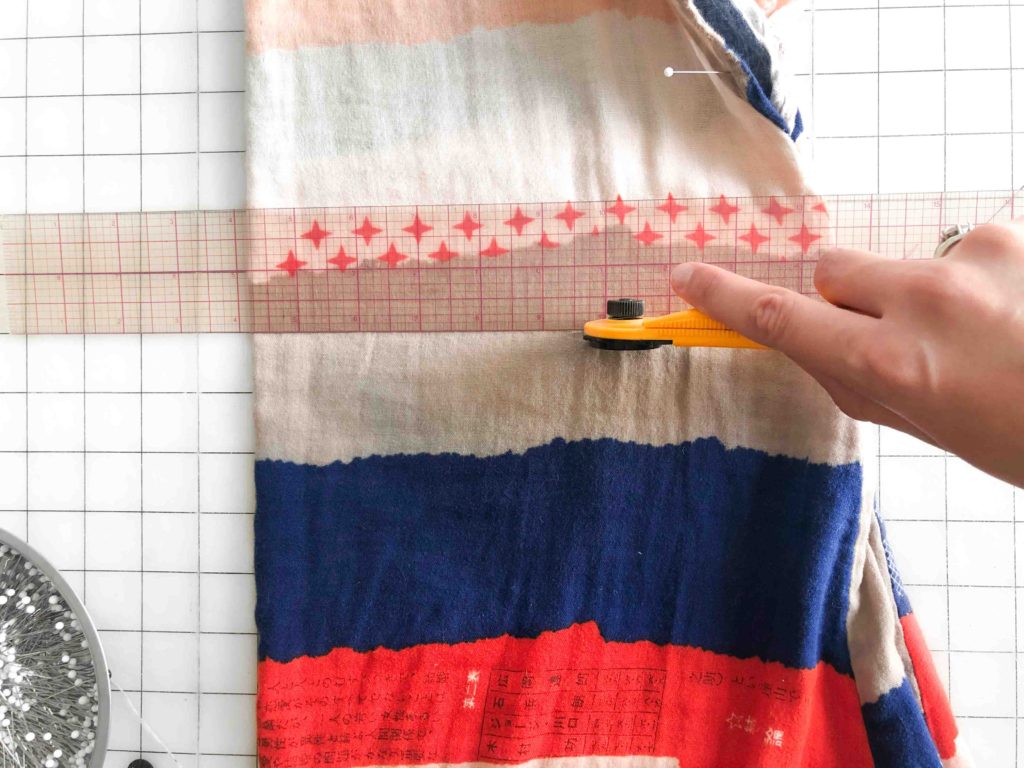
There are more precise ways of cutting into a dress + making sure it’s on the grainline, but here’s my method- I fold the garment in half and pin at the neckline and down the sides, making sure it’s even and straight. Then I lay it on a cutting grid and align it as much as possible. Before cutting, I pull on the edges of the garment on each side, right where I intend to cut, to see if it’s straight across grain. If pulling the edges distorts the way the garment is laying at all, then I know it’s slightly crooked + on the bias. Adjust as necessary to get it as straight across grain as possible!
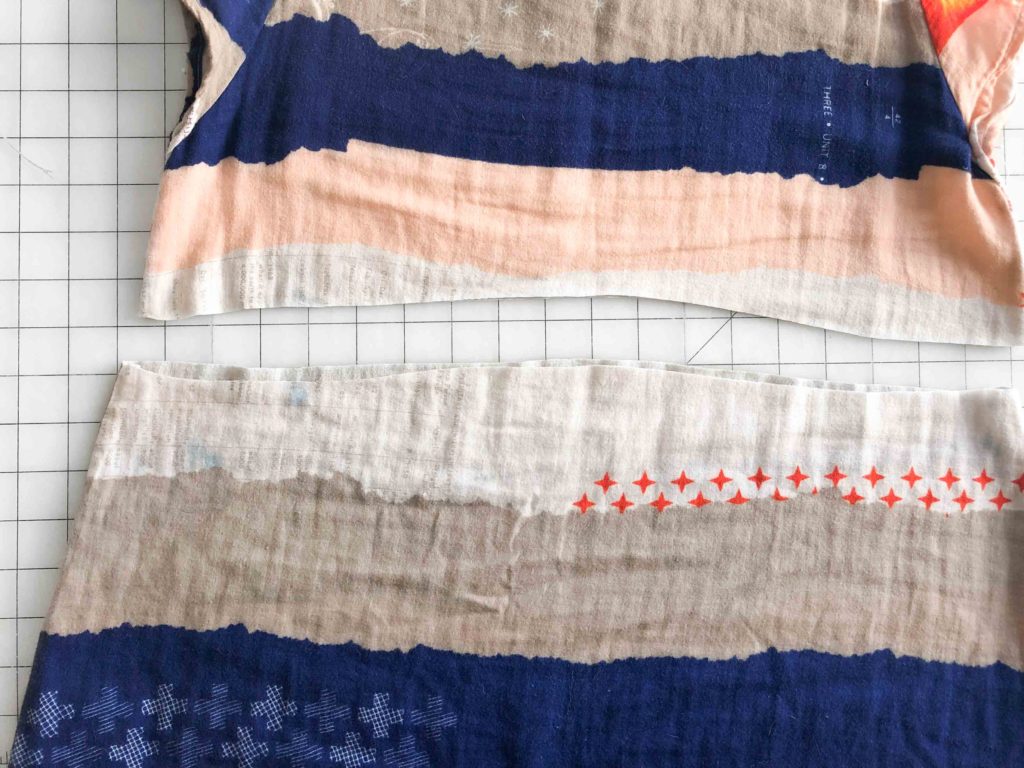
Of course it’s not scientifically foolproof. But hey! It was offgrain in a pleasing shape, so I went with it!
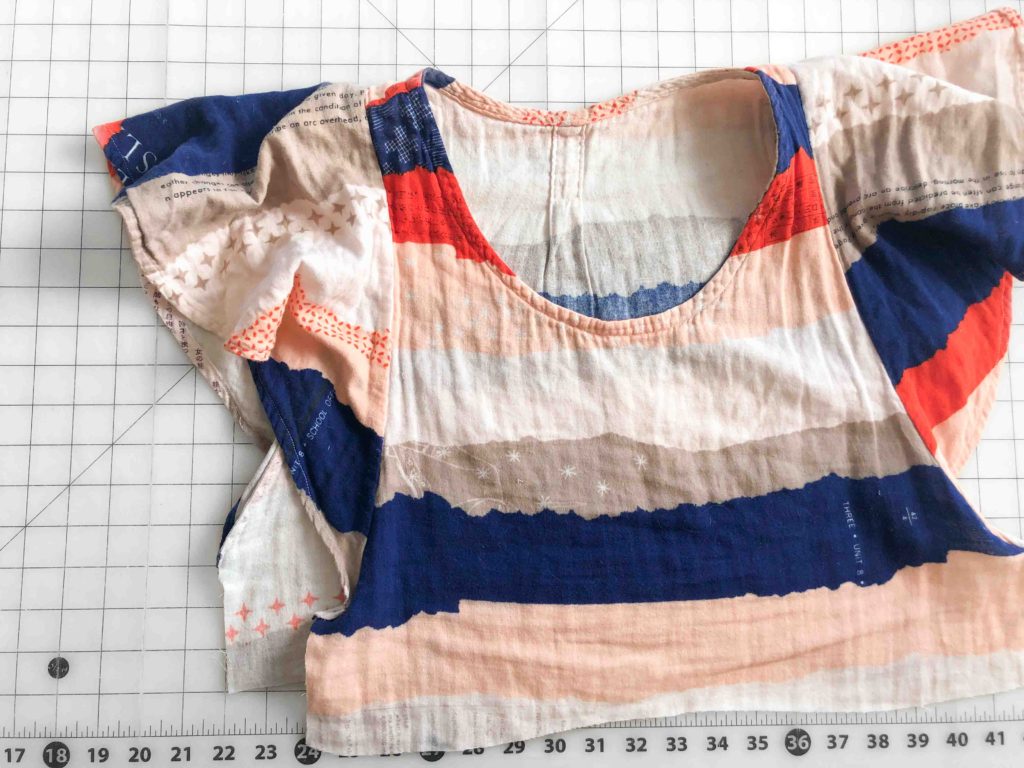
I cut off the side seams, as I wanted to make the bodice a little slimmer to allow the skirt to be gathered in a touch. By doing a 1/4″ each way French seam, the bodice got taken in by an inch on each side, leaving two extra inches in the skirt to be gathered in to the bodice. See how seriously major these sleeves are?
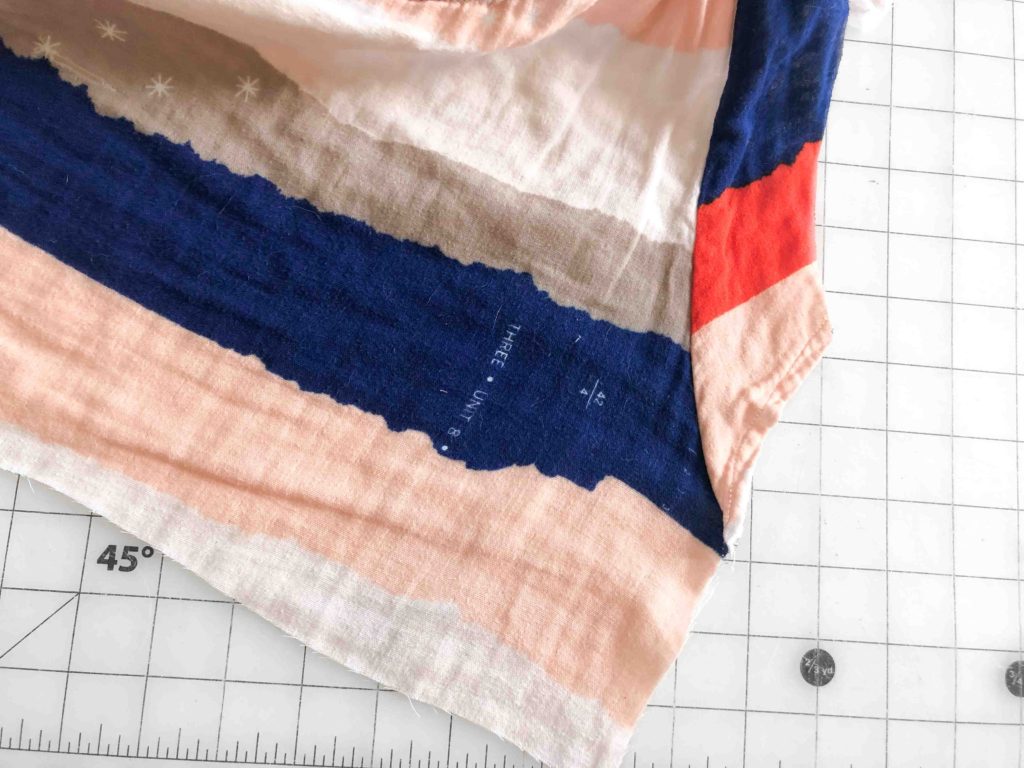
After some deliberation re: the sleeves, I decided to cut them down to two inches. I followed the shape of the armhole instead of the hem of the sleeve, so that the base of the sleeves at the underarm would stay in place. I unpicked the sleeve hem at these edges, and trimmed the bodice side seams so they lined up with this edge. I treated this part of the sleeve as an extension of my side seam, to raise the armhole by two inches.
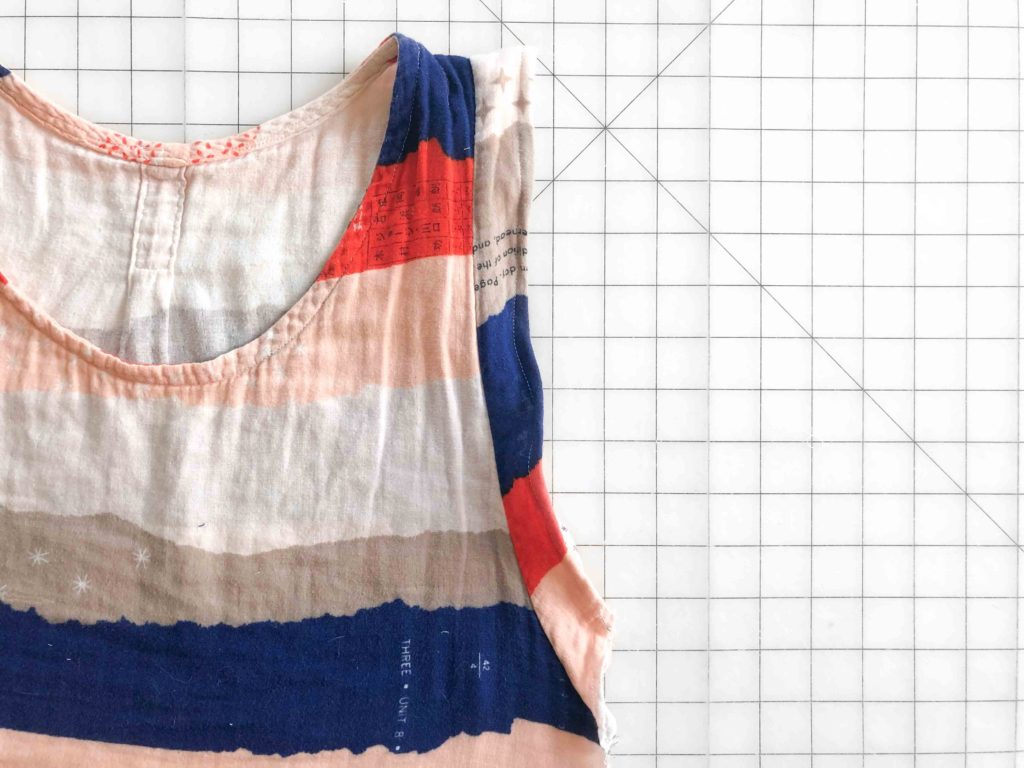
A little baby hem and we’ve got new little cap sleeves!
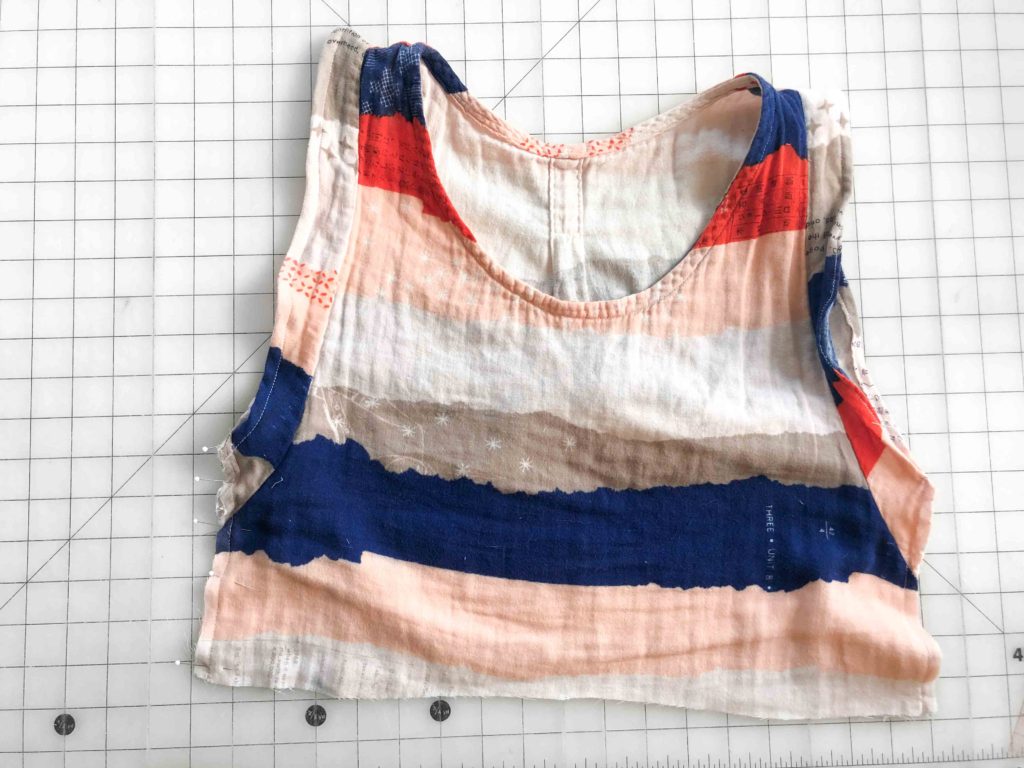
I French seamed the sides of the bodice, to match the rest of the previous construction. Since the sleeves were so huge and cut on the bias, the new ones are a little wonky and twisty, but I decided to just go with it and let them be how they wanted, instead of trying to control or fix them.
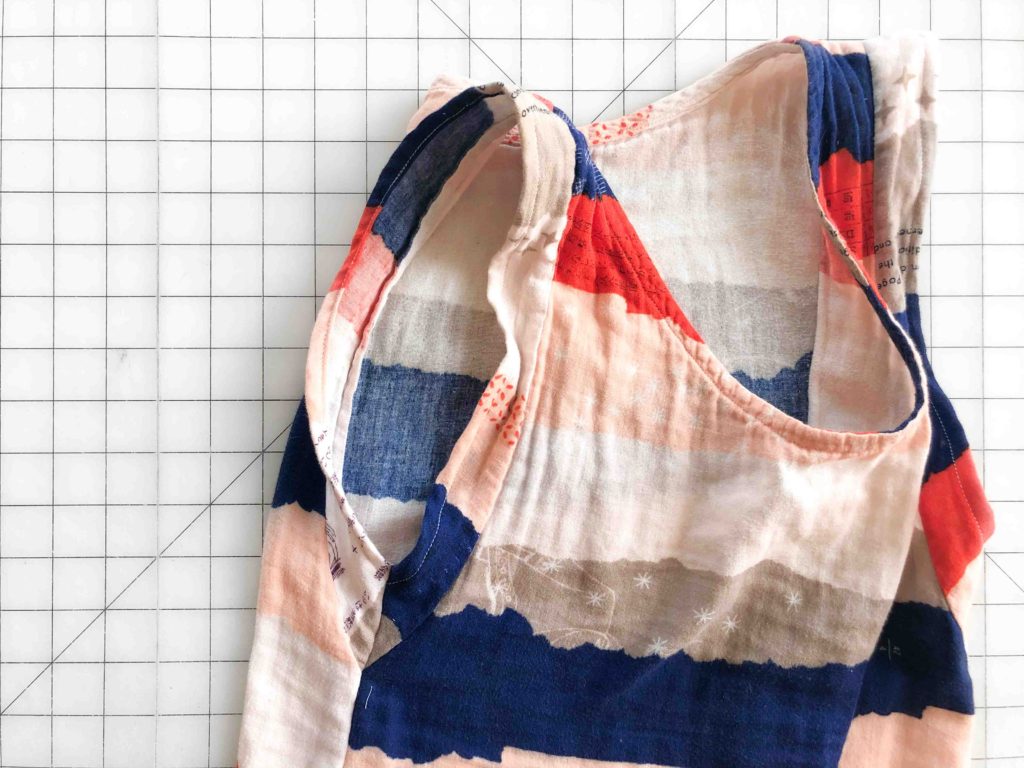
The new armhole! They turned out to be exactly what I wanted, and I’m so so pleased with them. Thanks, original maker, for that construction choice!!
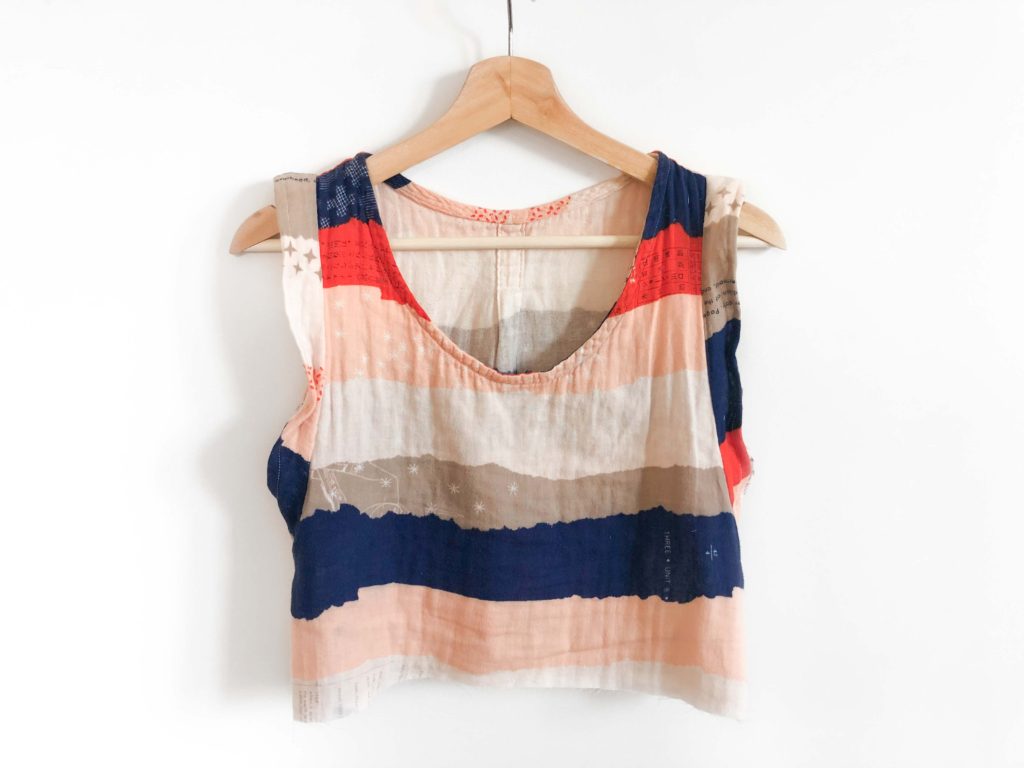
The finished bodice, ready for the skirt to go back on!! I thought of playing with the sleeve excess I’d just cut off to add pockets, but I didn’t want to fuss with the French seaming in the skirt, and I decided pockets in a nightgown would really just prove bulky and uncomfortable. So, no pockets on this lady.
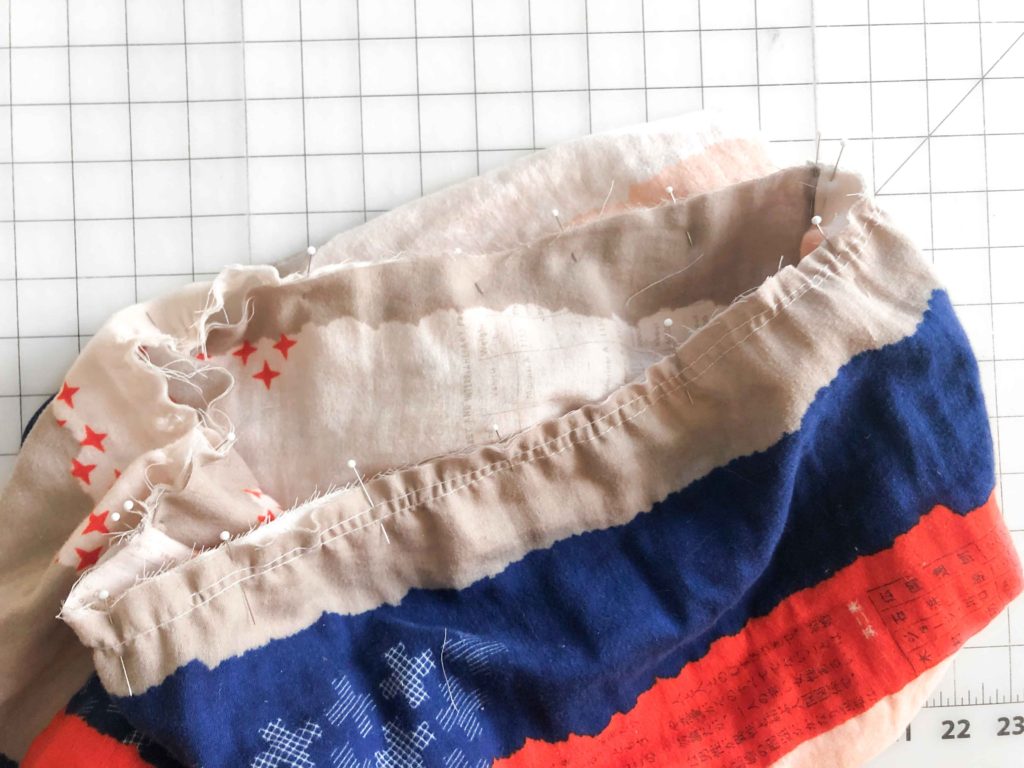
Here’s the gathered skirt being fitted onto the bodice. If you look closely, you’ll notice the taupe and white stripes are being pinned incorrectly- yes, I sewed the skirt on backwards, so the scooped hem was in the front. I thought about just re-hemming the skirt, but decided I wanted the stripes to match so I took it off and redid it.
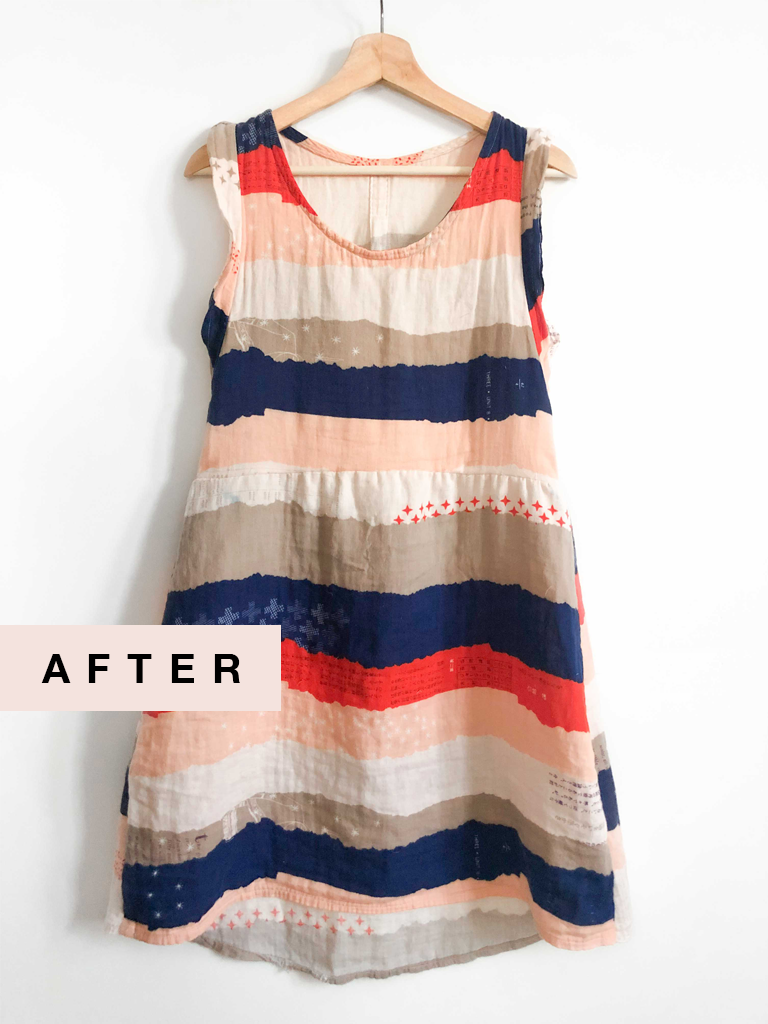
Tadah! Look how cute it is now!! You may notice that in addition to being gathered at the waist, the skirt is much less pointy. I tapered two inches off each hem, because the gathers at the top made the triangular aspects at the sides of the skirt begin to very valiantly strive OUTWARDS.
I’m so, so pleased with how this turned out! Every time I wear it, I find a mirror just to admire the silhouette. Can’t wait to tell you about my next Me Mend!
Happy Sewing!
