So crop tops and cute bralettes are all the rage lately – but how do you actually incorporate them into your wardrobe? It may be a bit daring for some, but I love pairing my long line Euler Bralette with a sheer silk shirt! Sewing with silk can be tricky, but there are so many tips on the internet, you can quickly get your bearings!!
Britex Fabrics graciously sent me this gorgeous Gunmetal Grey Silk to use for this project, and I have to say it’s one of the easiest silks I’ve ever worked with!! It’s a mid-light weight, and has a really wonderful matte finish crepe like texture- it holds its shape really well, and the slight texture was really excellent to sew up. It didn’t fray as much as many silks do, and was just an all around winner – I may be planning a skirt out of it next!

When you’re working with lightweight silks, finishing the edges can sometimes be tricky based on the slipperyness factor. One of my favourite ways to finish lightweight or small projects is with a baby hem – those tiny rolled hems that make you go, how on Earth? Turns out, there’s a secret trick, and those tiny hems are easy as pie!

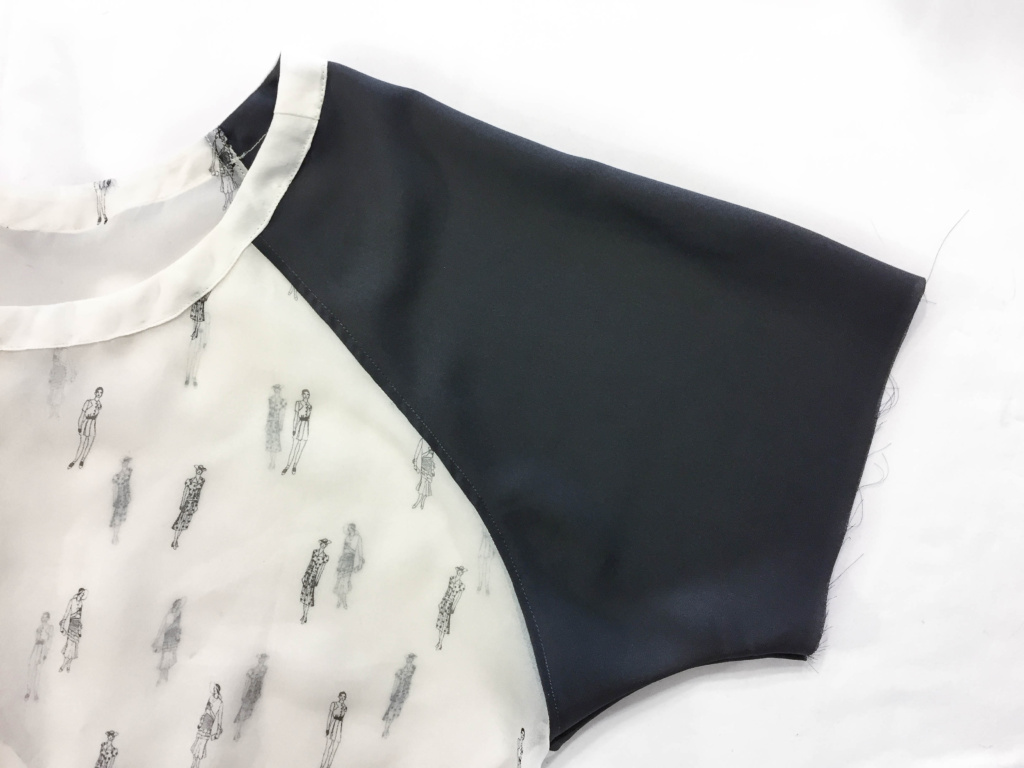
I wanted to make a two – tone color block sheer tshirt for an easy summer layer, and this gorgeous Gunmetal Silk was just the perfect accent for this flapper girl chiffon I’ve been saving for years!! How cute is this? I did a silk + cotton blend facing and bias tape for the neckline and hem as I wanted some heft to the lines, but a baby hem was the perfect choice for the sleeves!

This hem is similar to a French seam, where you sew the seam twice and take a bit in each time to reach your final seam allowance. Depending on your fabric and the seam allowance in your pattern, you can go pretty much any width for the final hem width. You can go as close to the edge as 1/16th inch, but I opted for 1/8th inch width. I started by turning up the fabric by 3/8th inch, and sewed right down the middle.


Once you’ve sewn all around the hem on your first turn, trim the excess fabric away from the fold. This is the part that will determine how far your final hem will be from the edge. As I wanted mine 1/8th, I trimmed the edge to just under that 1/8th inch. With my original 3/8th turn up, and the additional eighth taken with this fold, I reach my desired seam allowance of 1/2 inch.
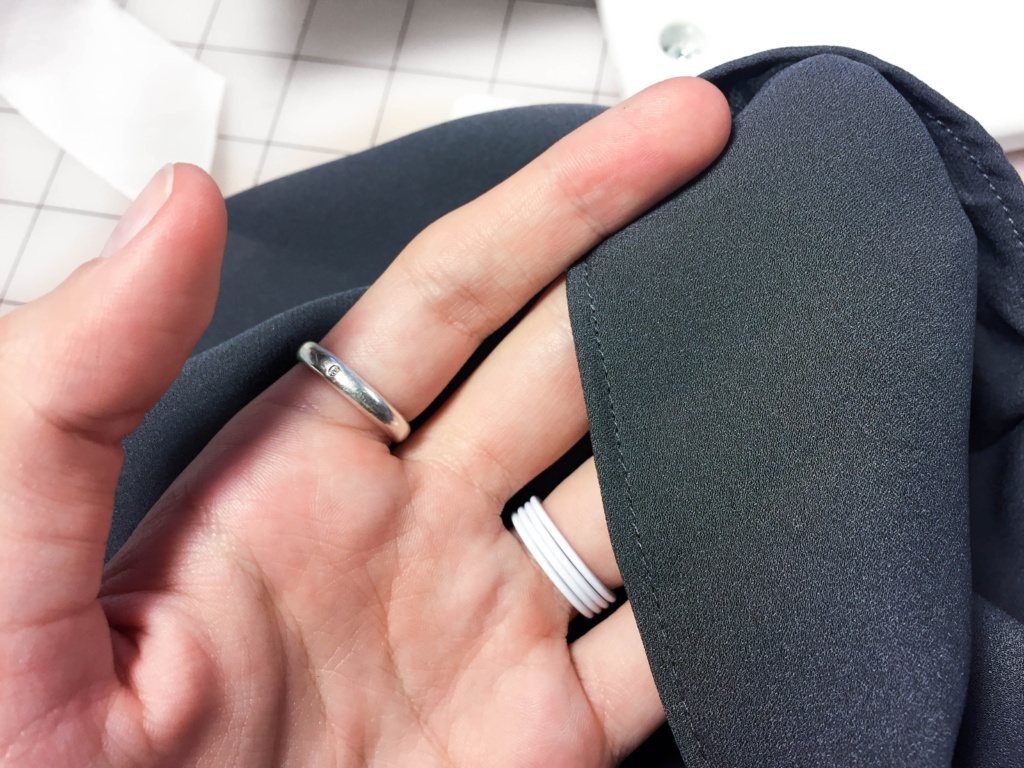
 The final step is to turn up your hem for the second time, and you’ll be sewing right over your original seam. Can you believe how easy this is?!
 Look at that!! A lovely 1/8 inch hem, with no ironing fussy edges or pinning at all!! It’s definitely a trick I’m breaking out any chance I get!

Happy Sewing!!

